February 13th, 2026
I Upgraded My NAS!
Finally...
My New NAS:
A couple years ago, I tossed together a very basic NAS, using a 4TB hard drive, a 120GB boot SSD, and an old HP p6653w tower. I’d installed OpenMediaVault, and Immich on top of that for photo organizing, and have been using it just about every day I could since I built it.
Last year I started to have issues with storage space on the thing. 4TB simply isn’t enough for the amount of stuff I want to stash on it. I take lots of pictures, and those take up TONS of space. Add on Immich’s thumbnails and encoding video down to a reasonable size for previews and you’ve got 2.8TB of your hard drive gobbled up. Add in my PC Tools (benchmarks, drivers, useful software), some ISO files, and a few other miscellaneous files, and you have 80GB free on the drive. Not to mention no redundancy at all on it.
I had gotten two 14TB hard drives, and came across a reasonable deal on a Shuttle XPC SH61R4. I like these small form factor PCs. I have two cube PCs and they’re some of the neatest things on the planet. The Shuttle I got had a Pentium G2030 (Ivy Bridge) in it, along with 4GB of DDR3 RAM and a 250GB HDD in it. It arrived in its original box, though there was nothing original in the box other than the PC and its power cord. It also seemed to have gotten a bit of shipping damage. Otherwise, the PC seemed to survive just fine and was fully functioning (mostly) when I got it.
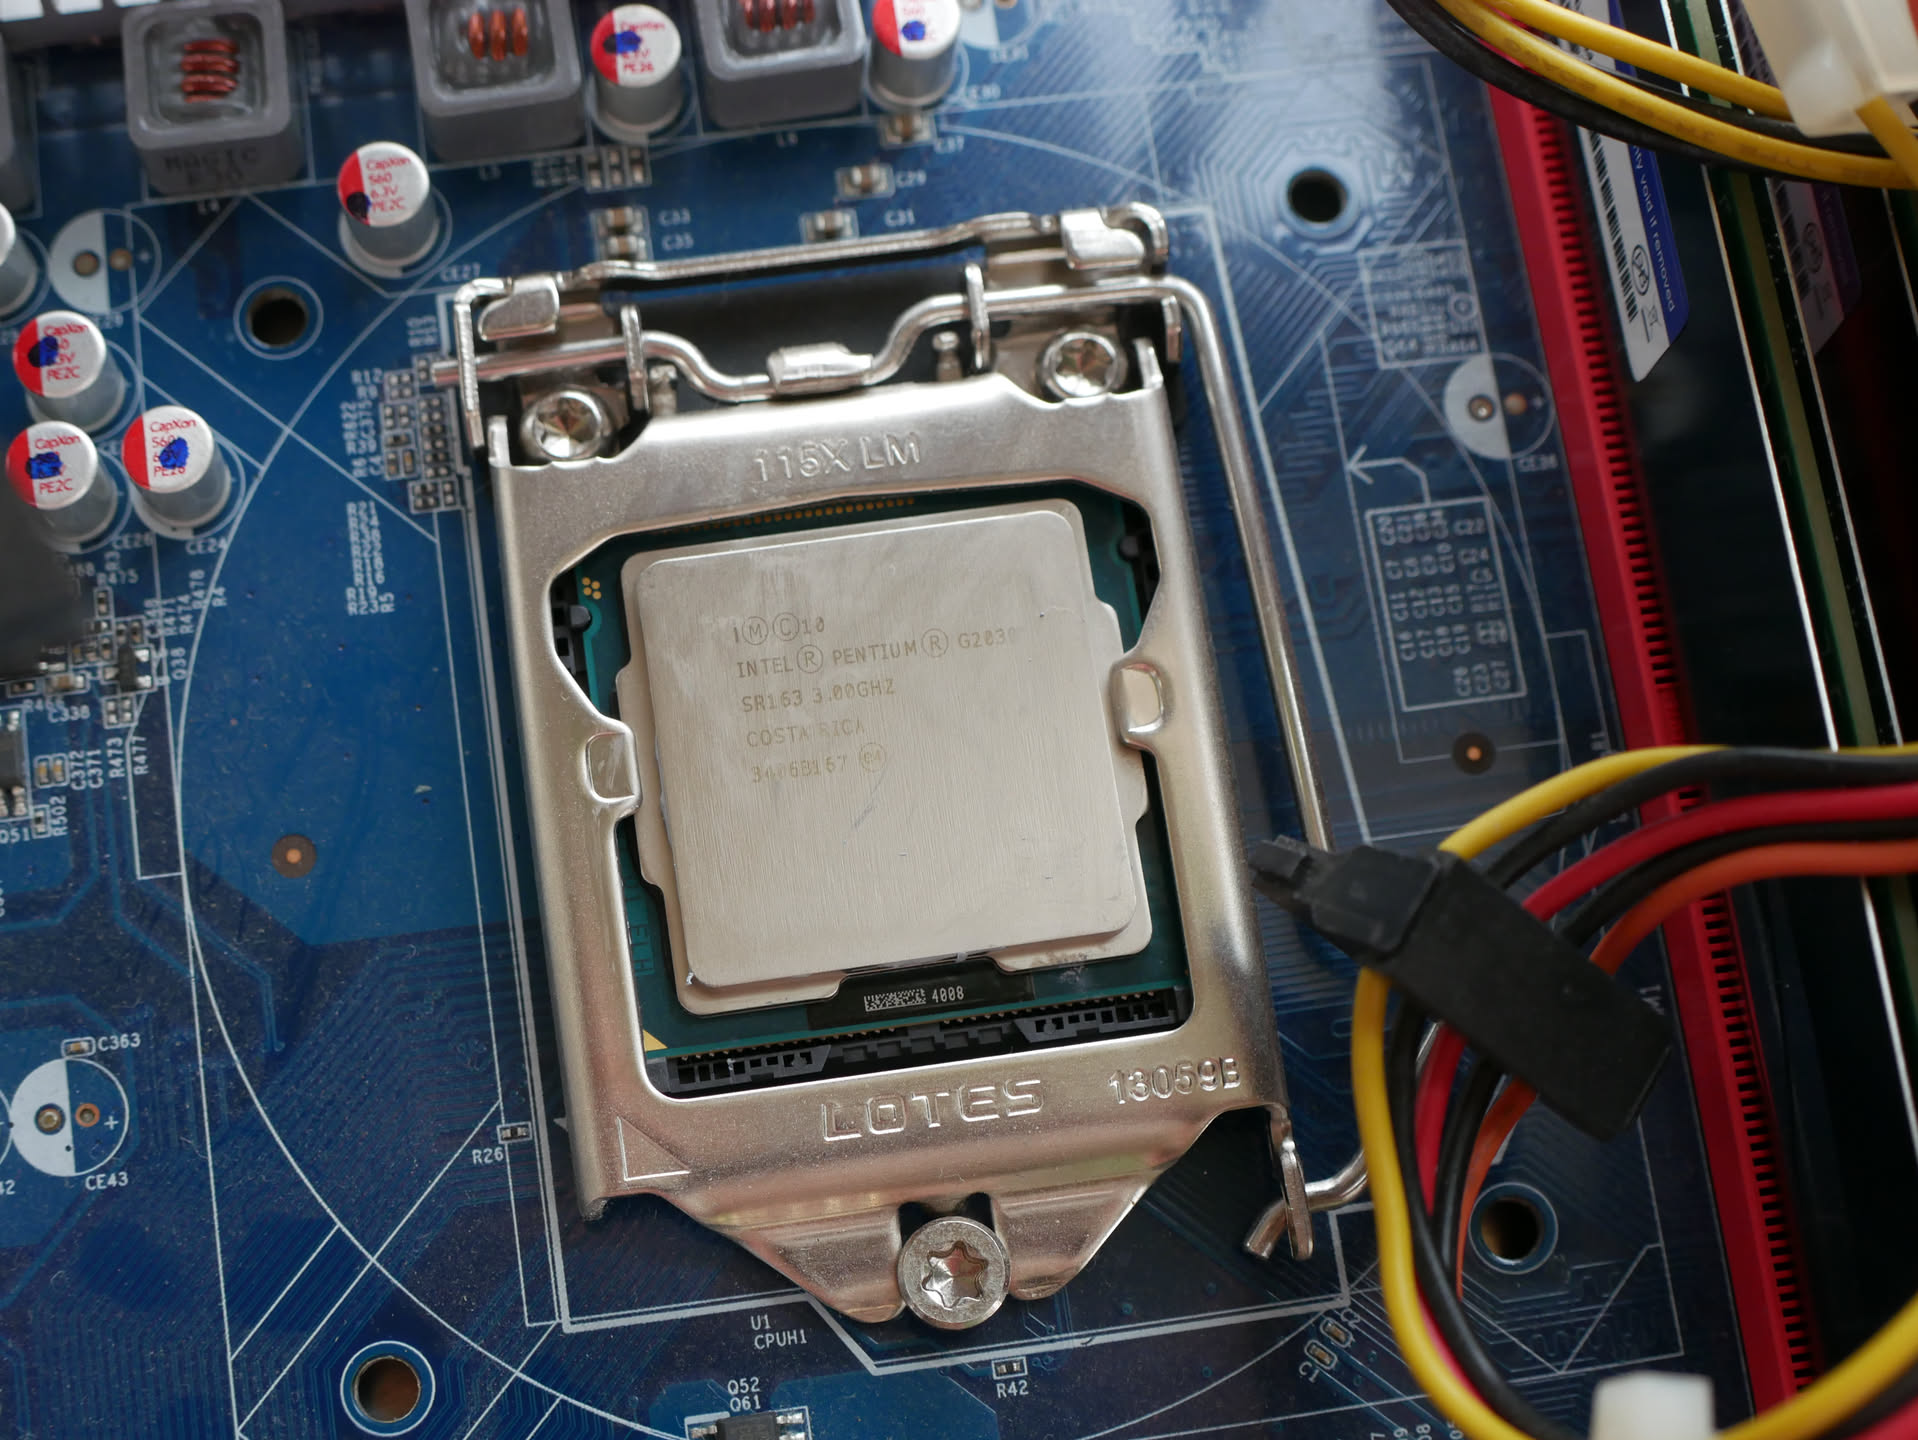
The first thing I did was pop it open to re-paste the thing. The ebay seller didn’t know how to reset Windows 7 (you don’t, fresh install is how you do that), and was selling them cheap because of that. The picture of the logon screen from ebay indicated it was from a business, and businesses don’t re-paste most of their PCs. Although this is a low-powered Pentium chip, it could still use some fresh paste.
I did notice the cooler was slightly lifted off of the socket a bit. This probably happened during shipping. It was my least favorite style of cooler, the ones with the push-pins to hold them in place. These have a tendency to break and are quite delicate. I have two broken ones in my closet somewhere.
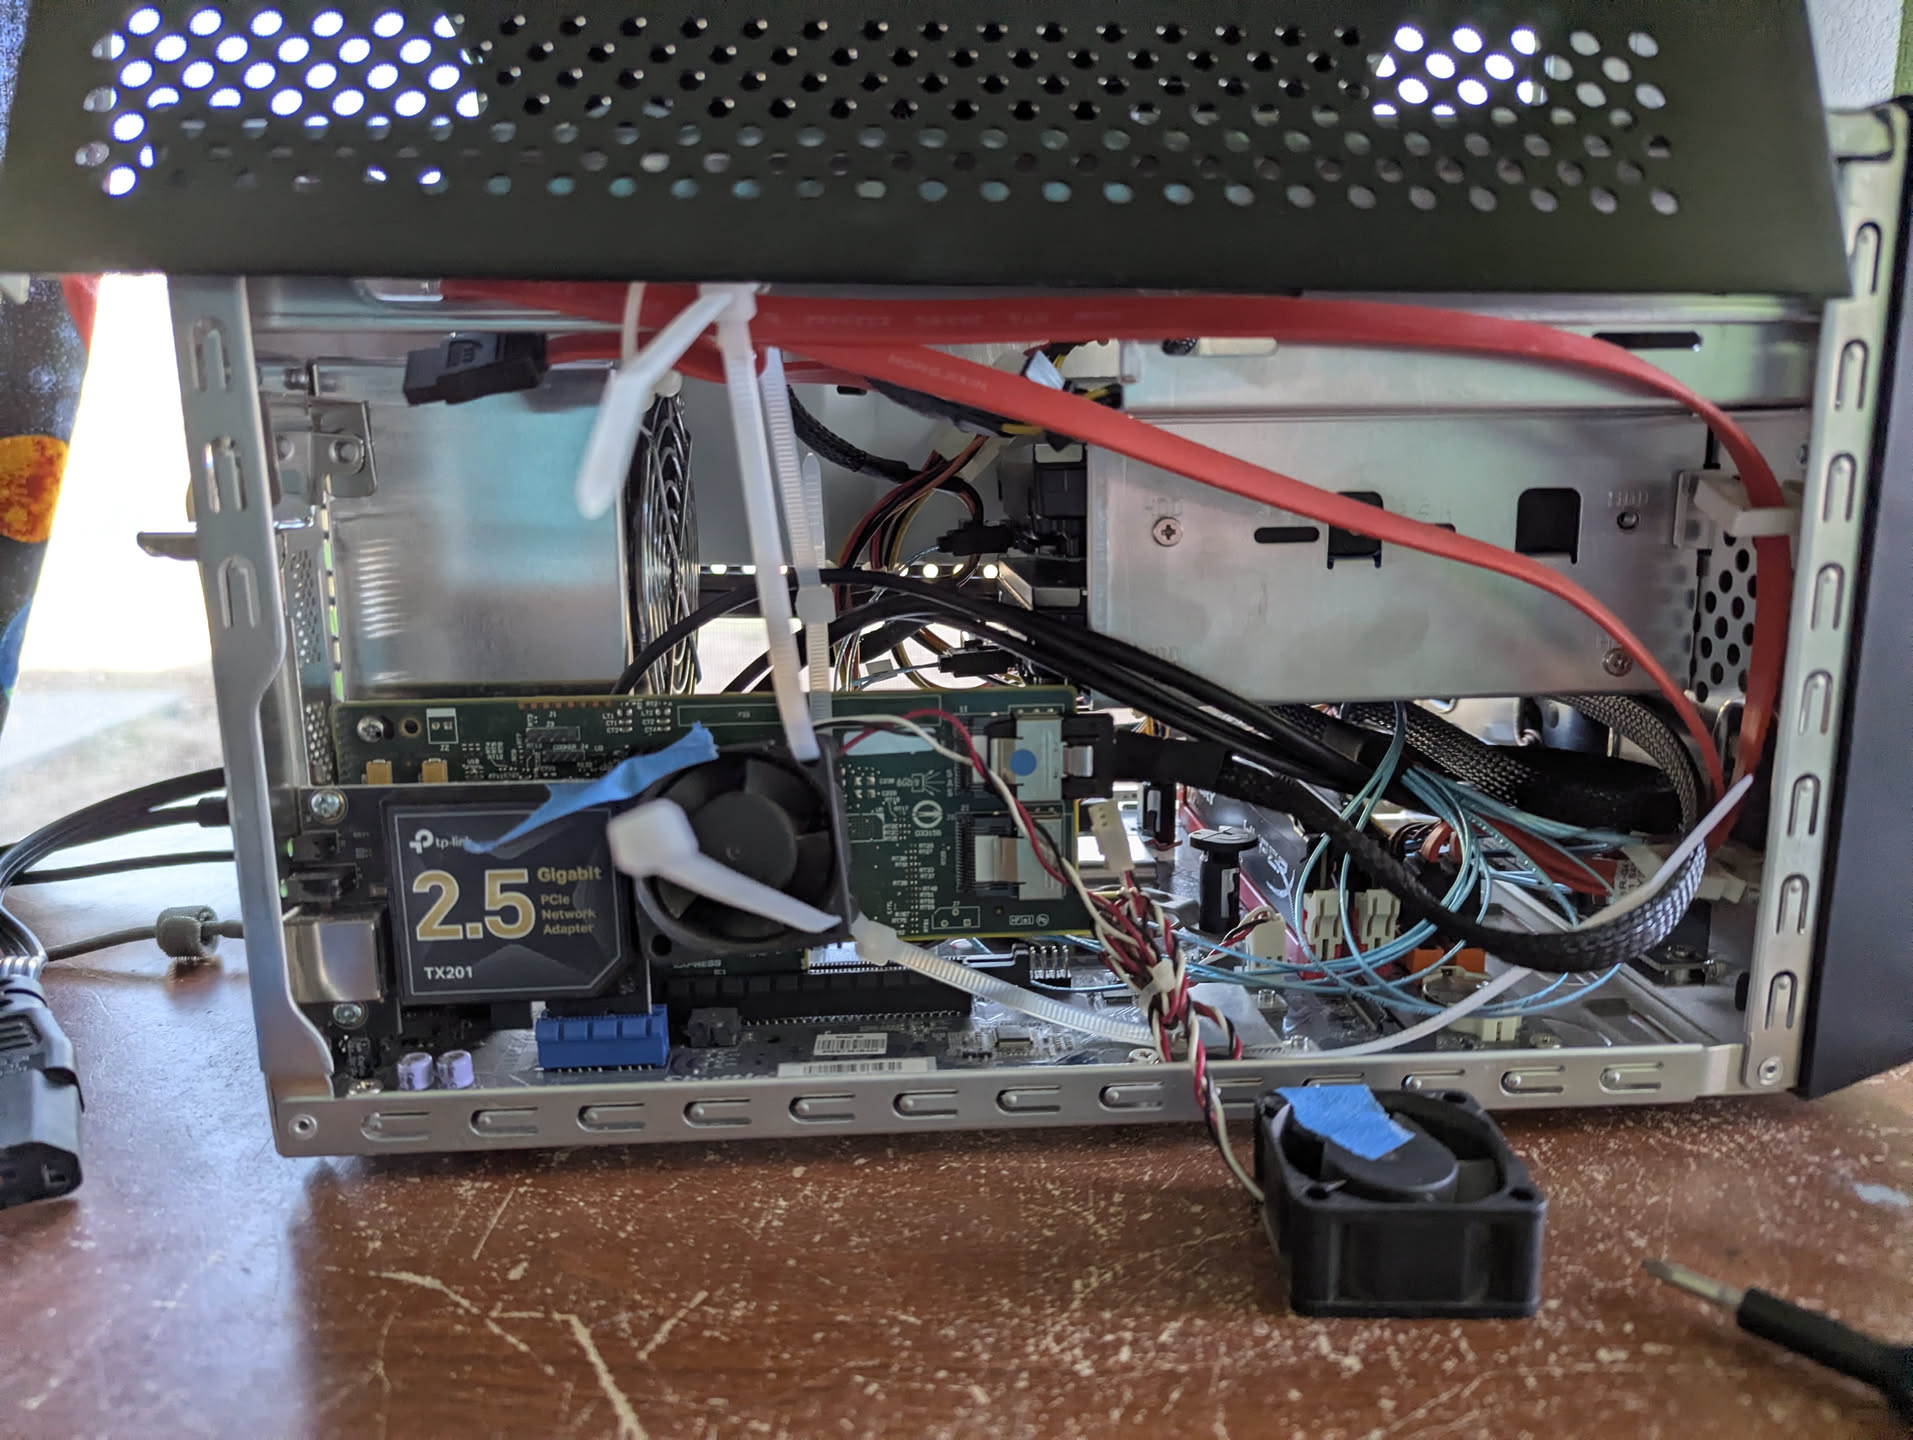
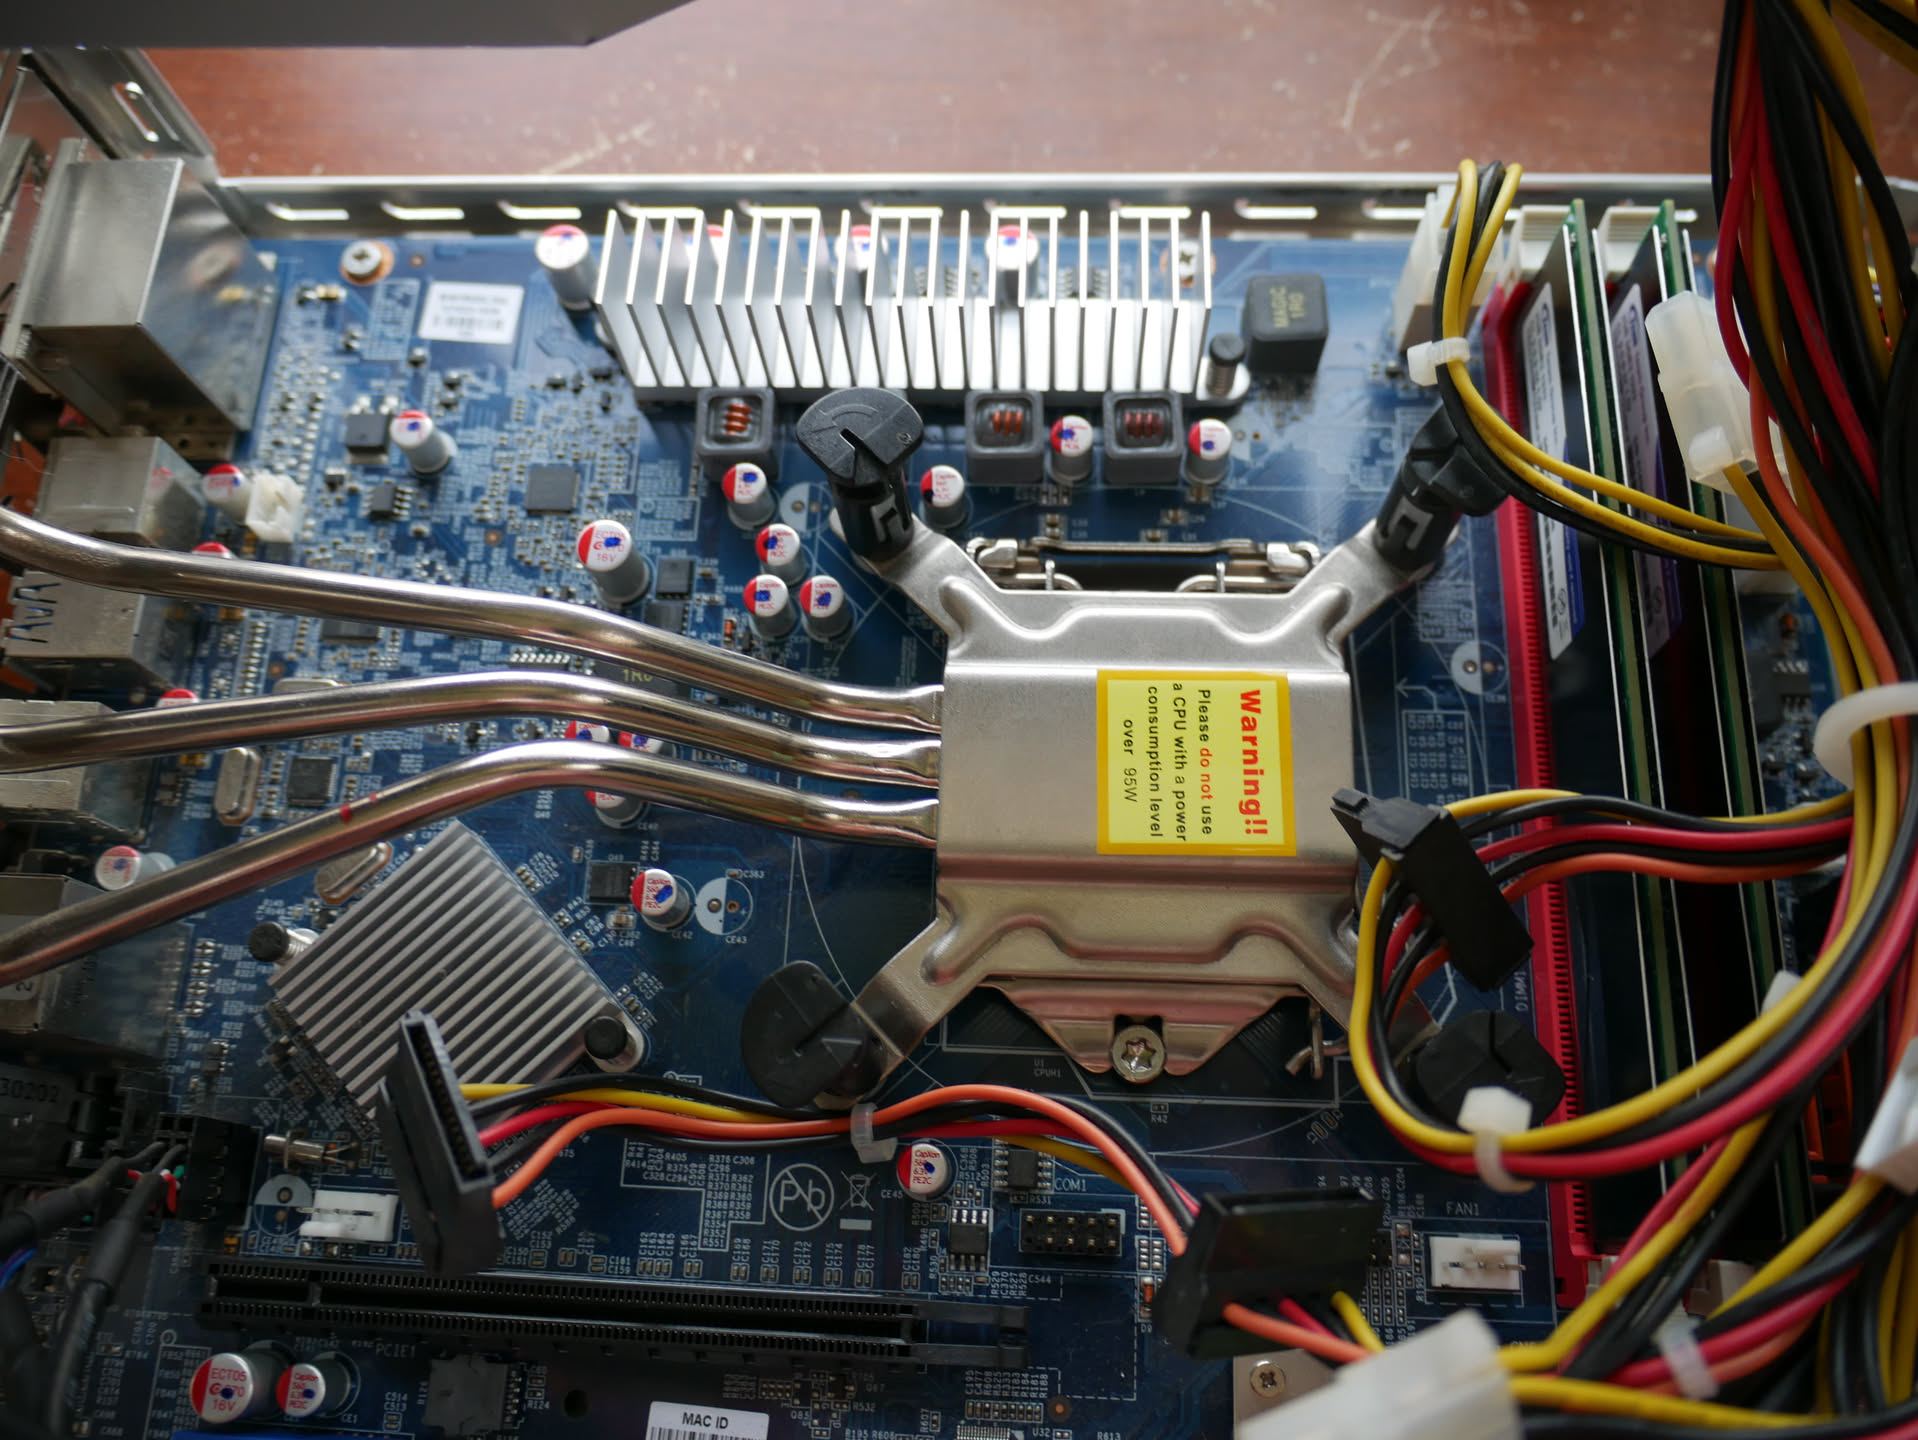
The inside of the NAS box, complete with LSI card and janky fan.
The CPU, a Pentium G2030.
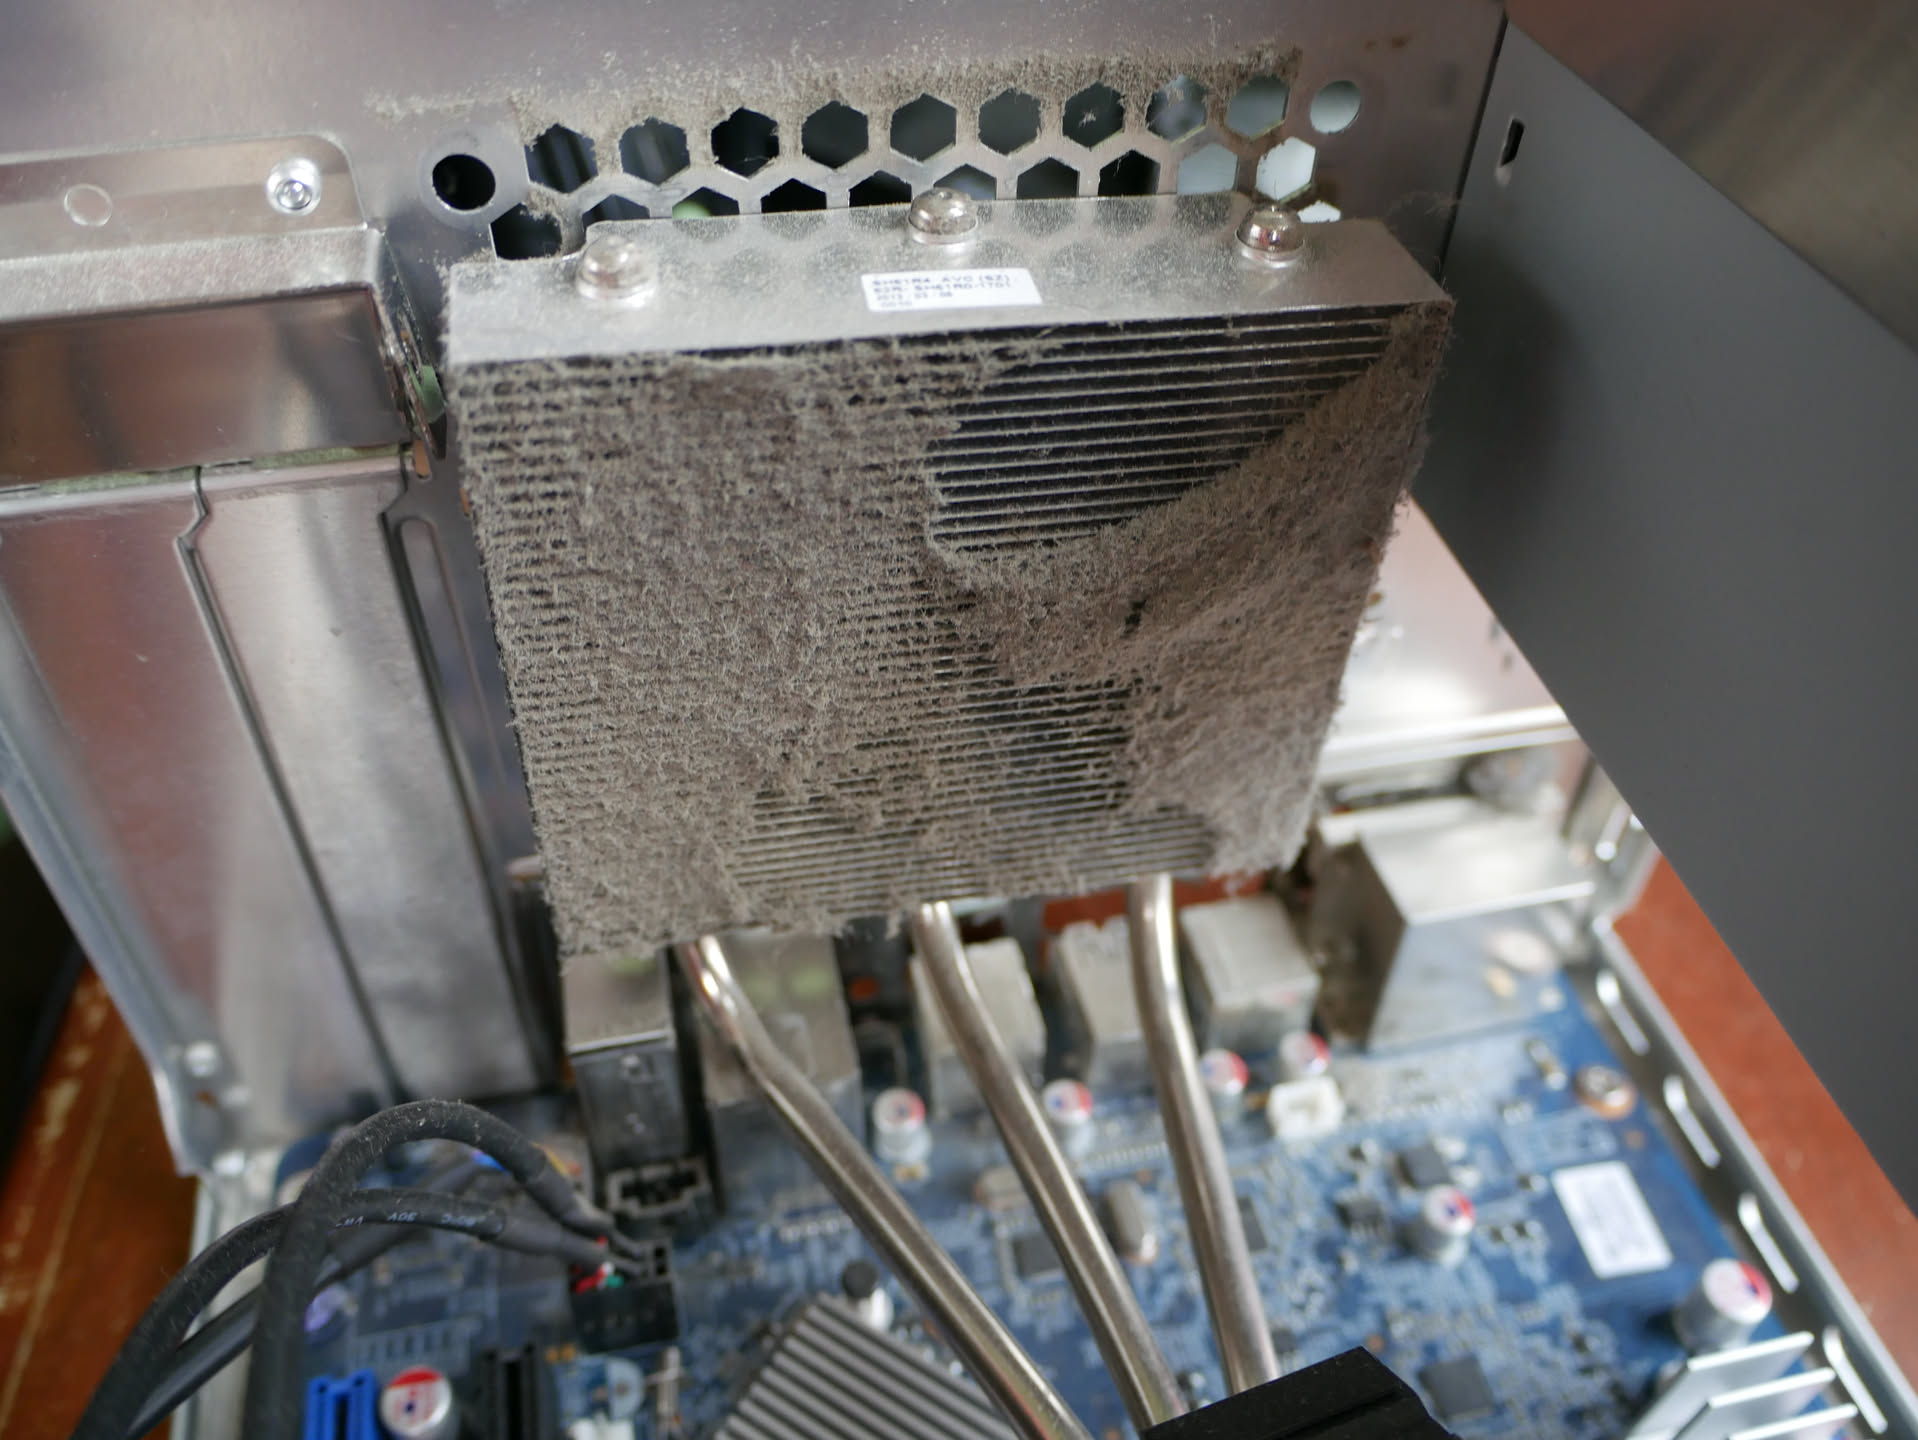
Dirty heatsink.
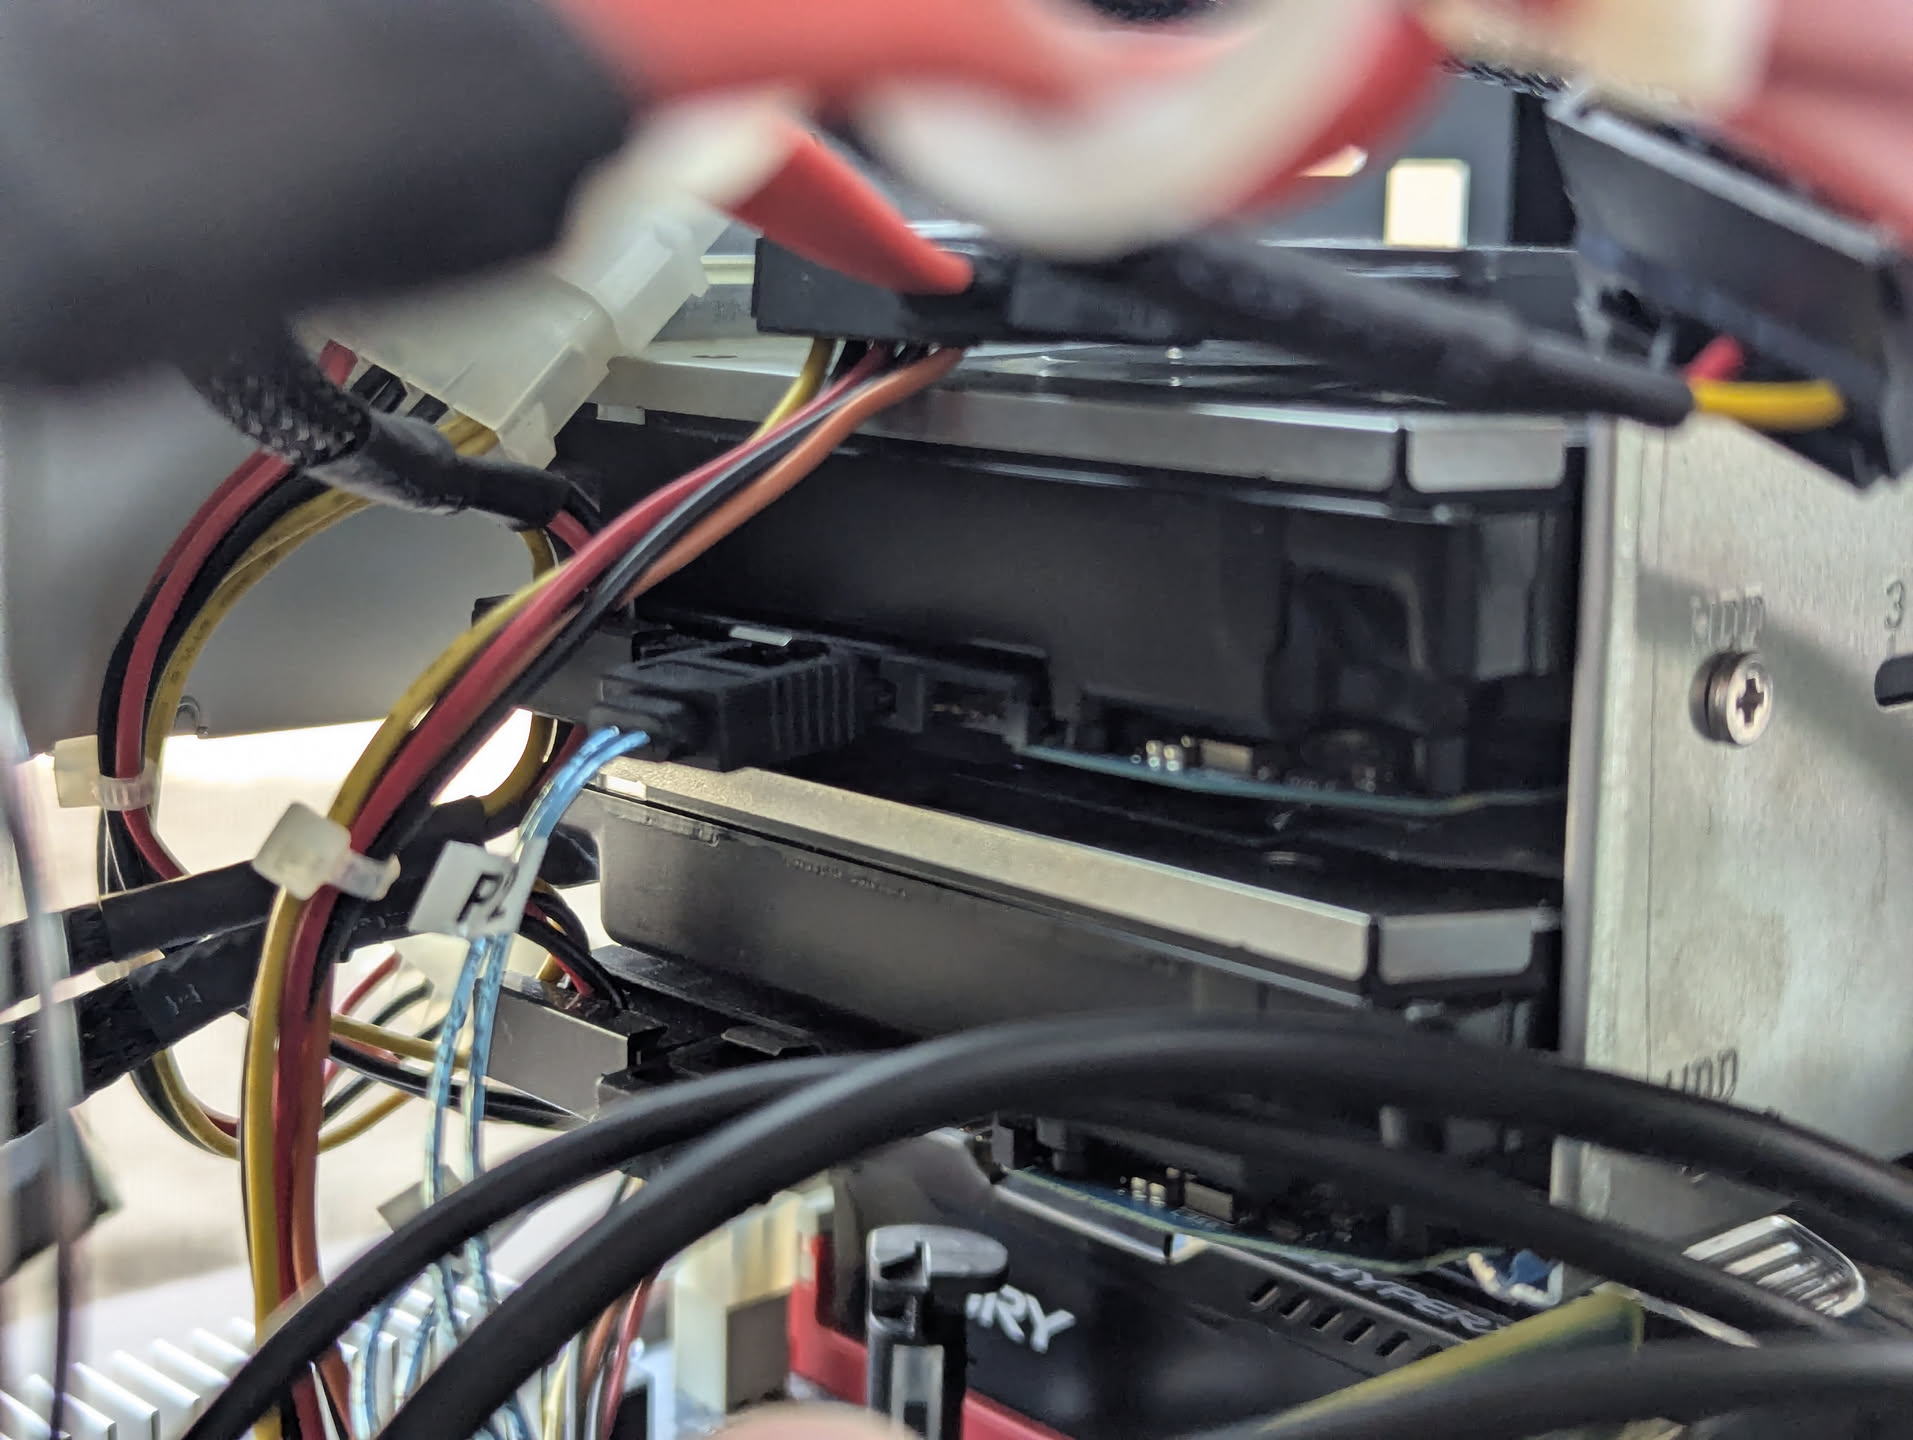
The hard drives.
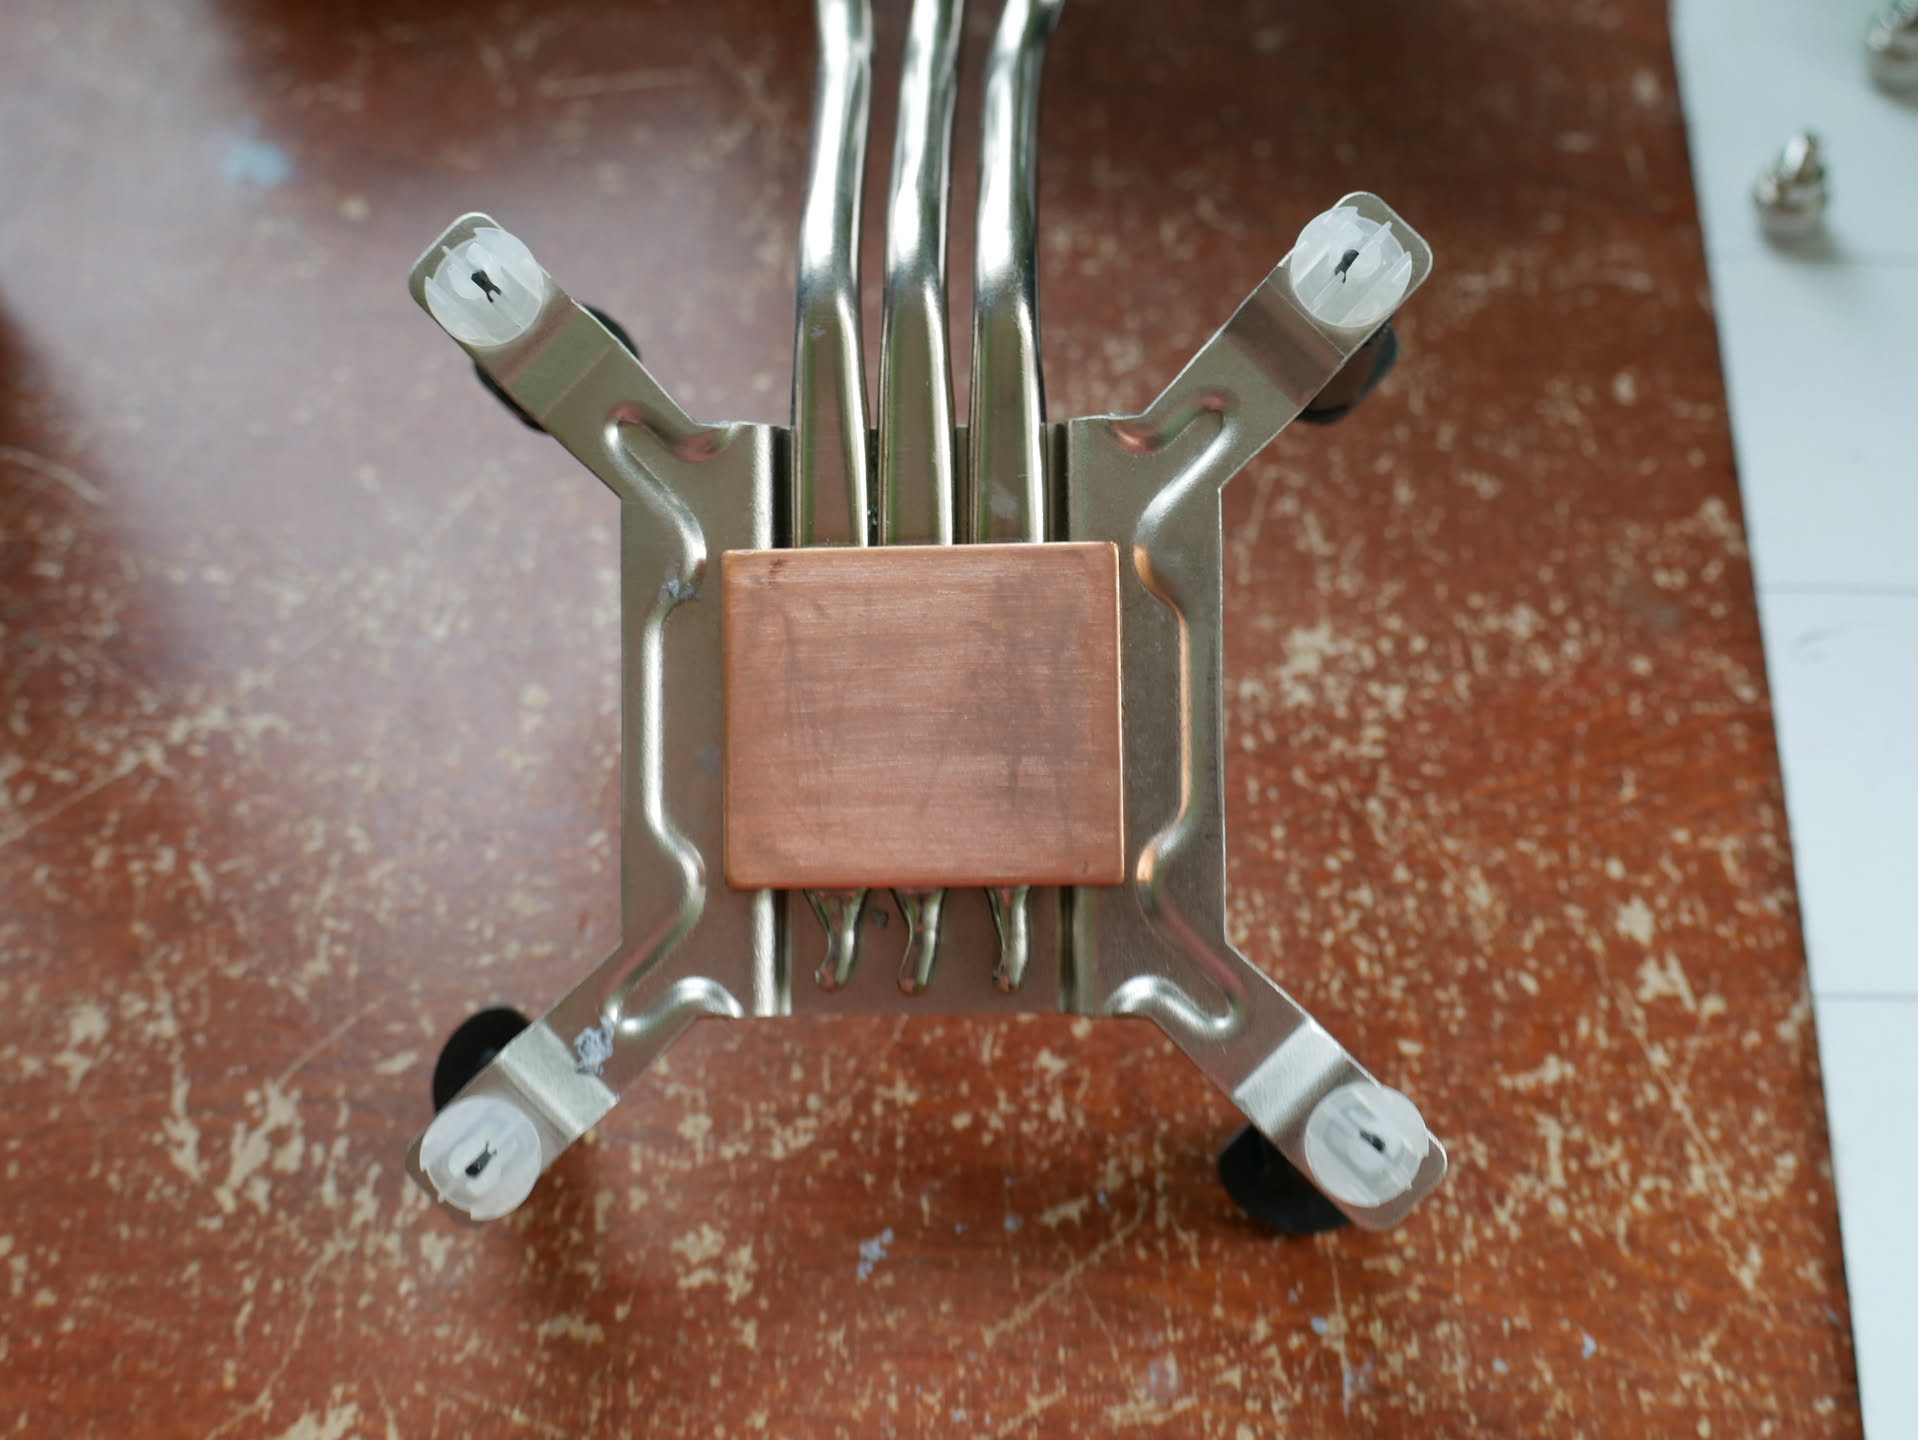
The heatsink. I had cleaned it, by the way. Note the push-pin mechanism.
Heatsink mounted on the motherboard inside the Shuttle.
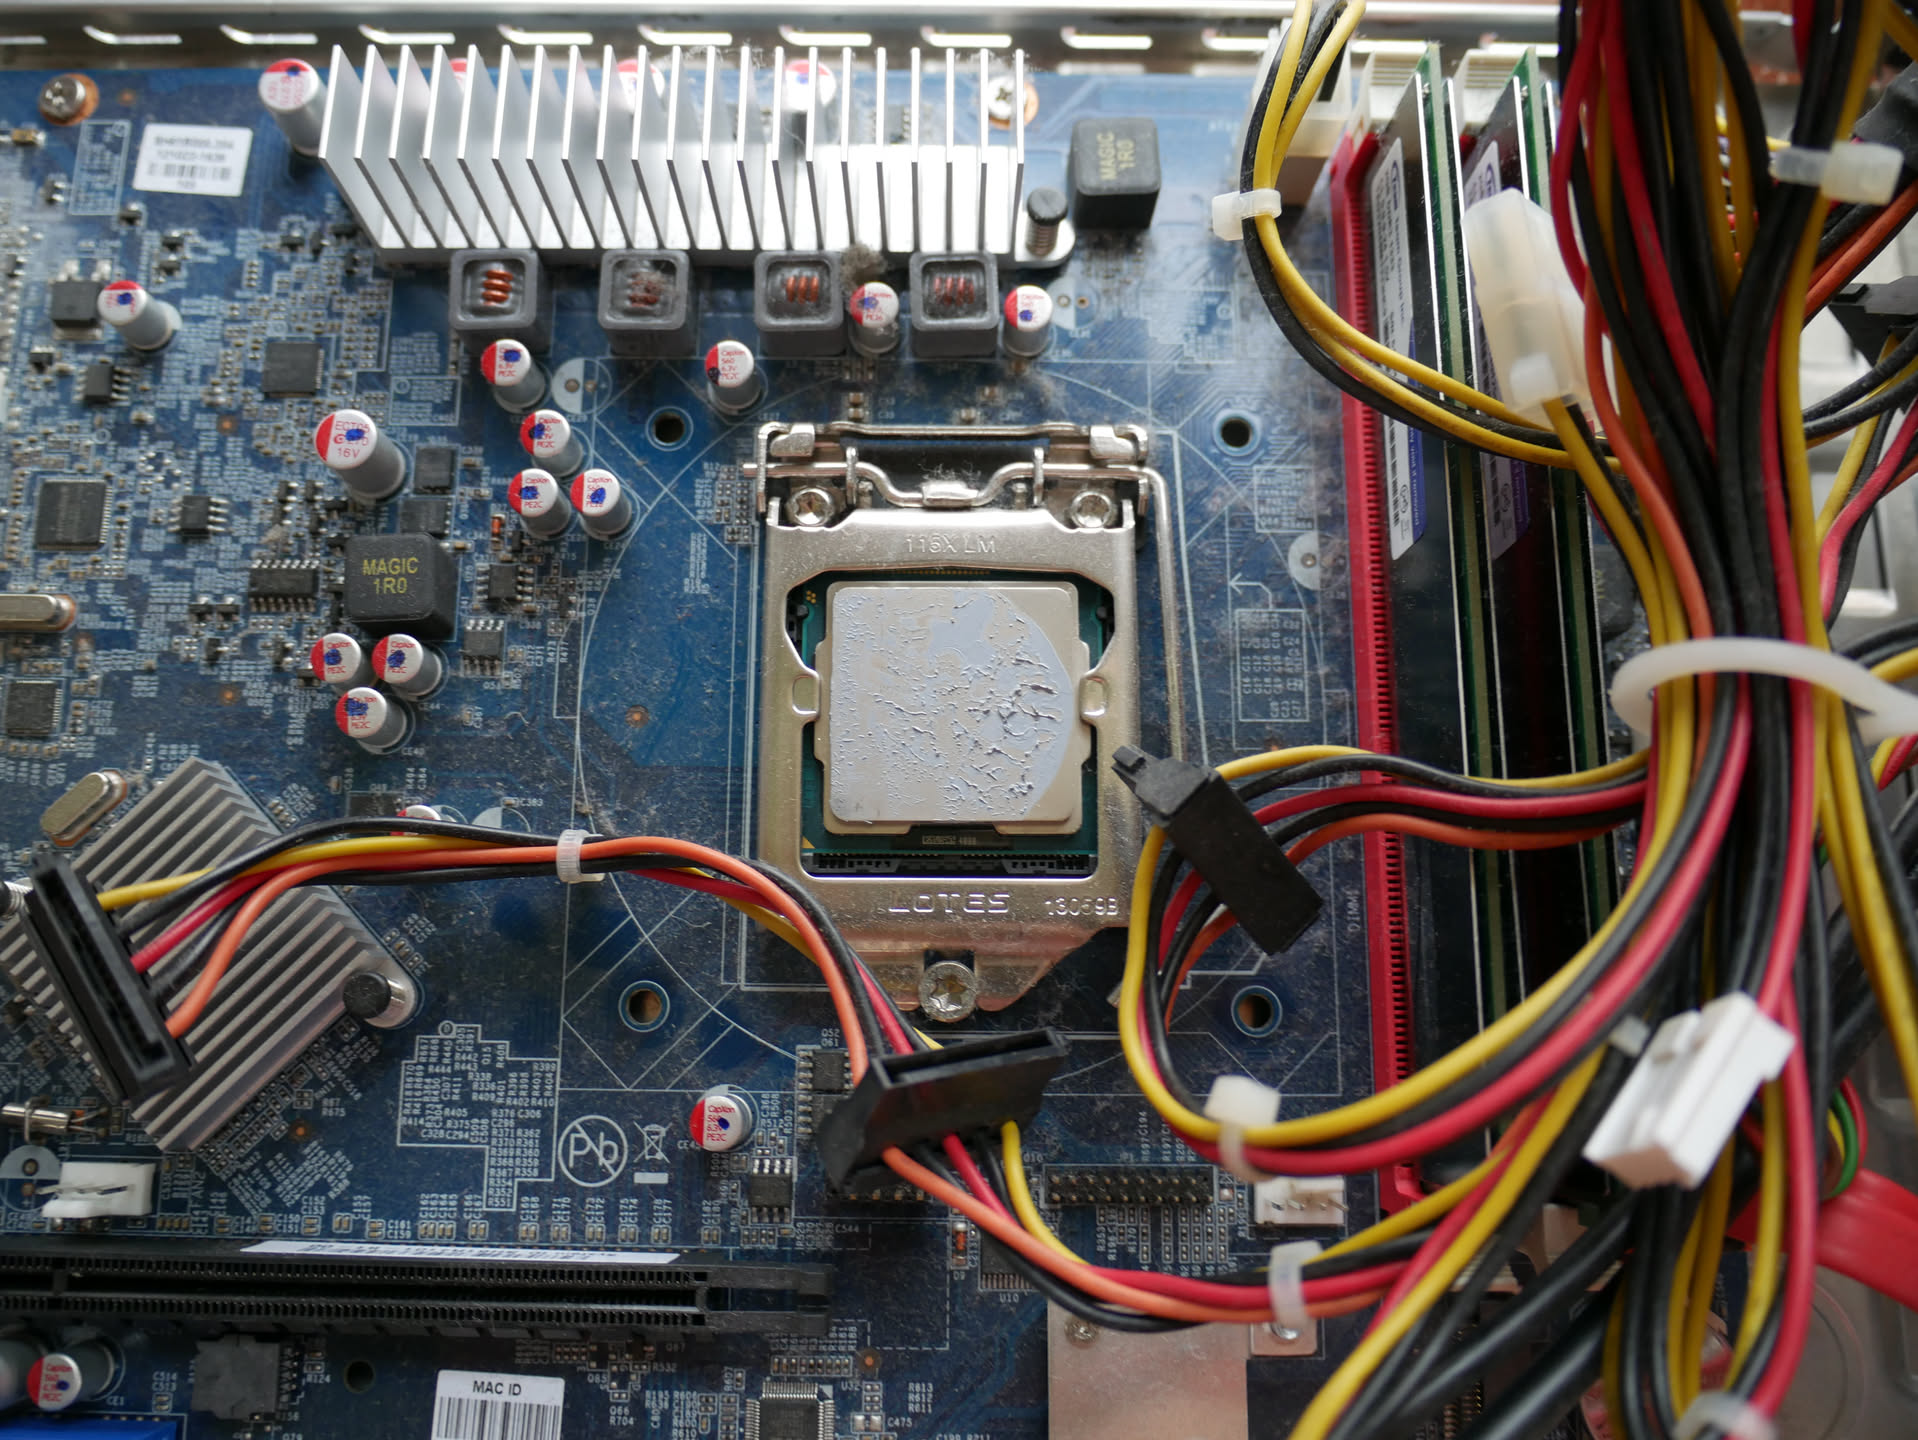
The old thermal paste on the CPU.
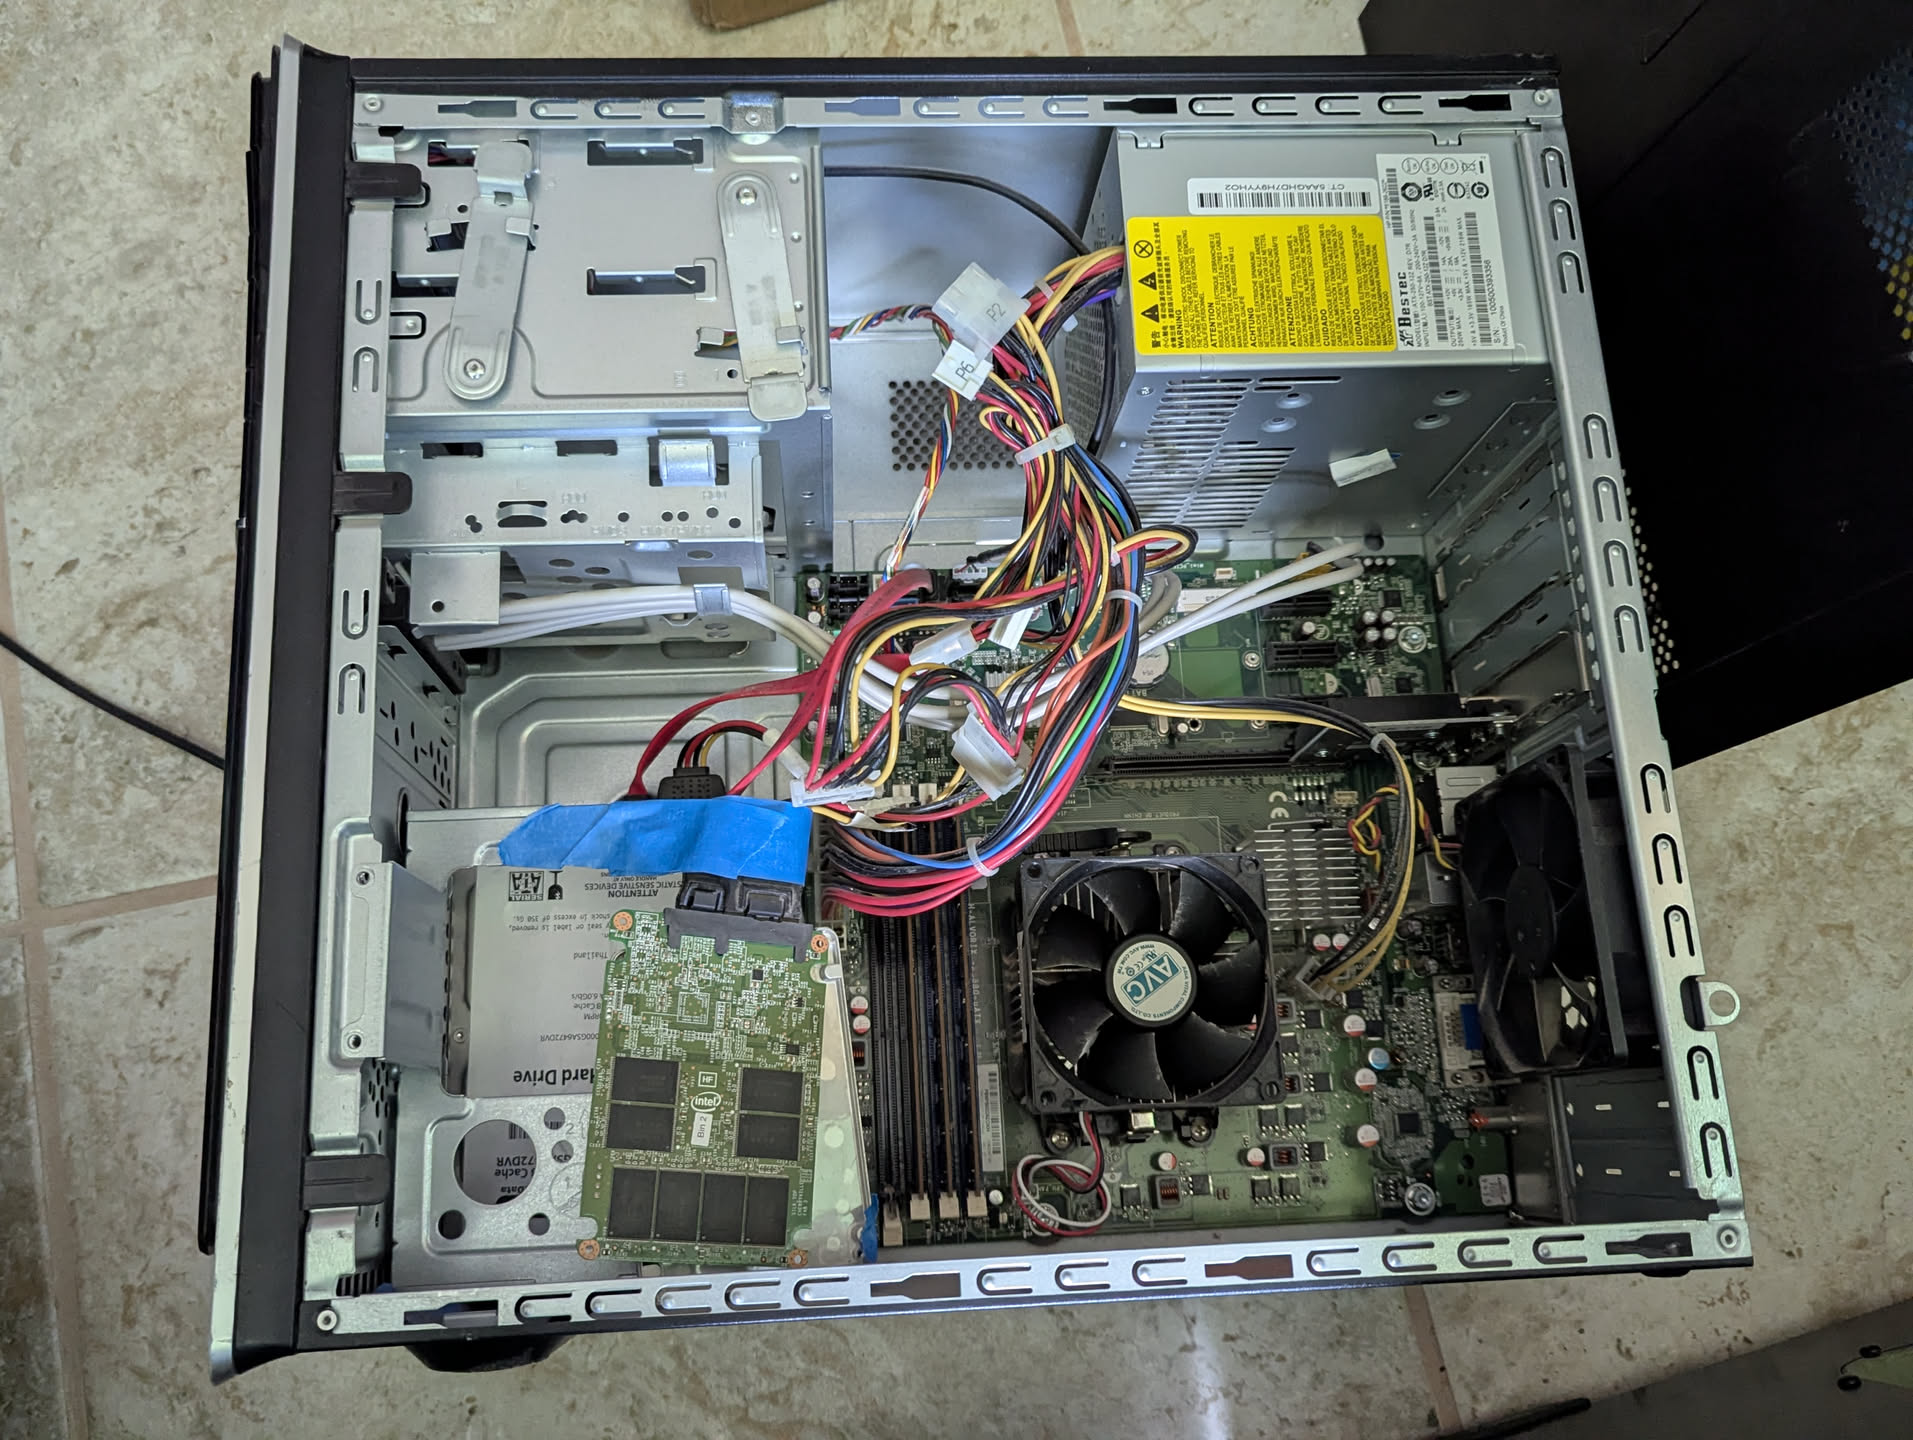
The inside of the old NAS, an HP Pavilion p6653w.
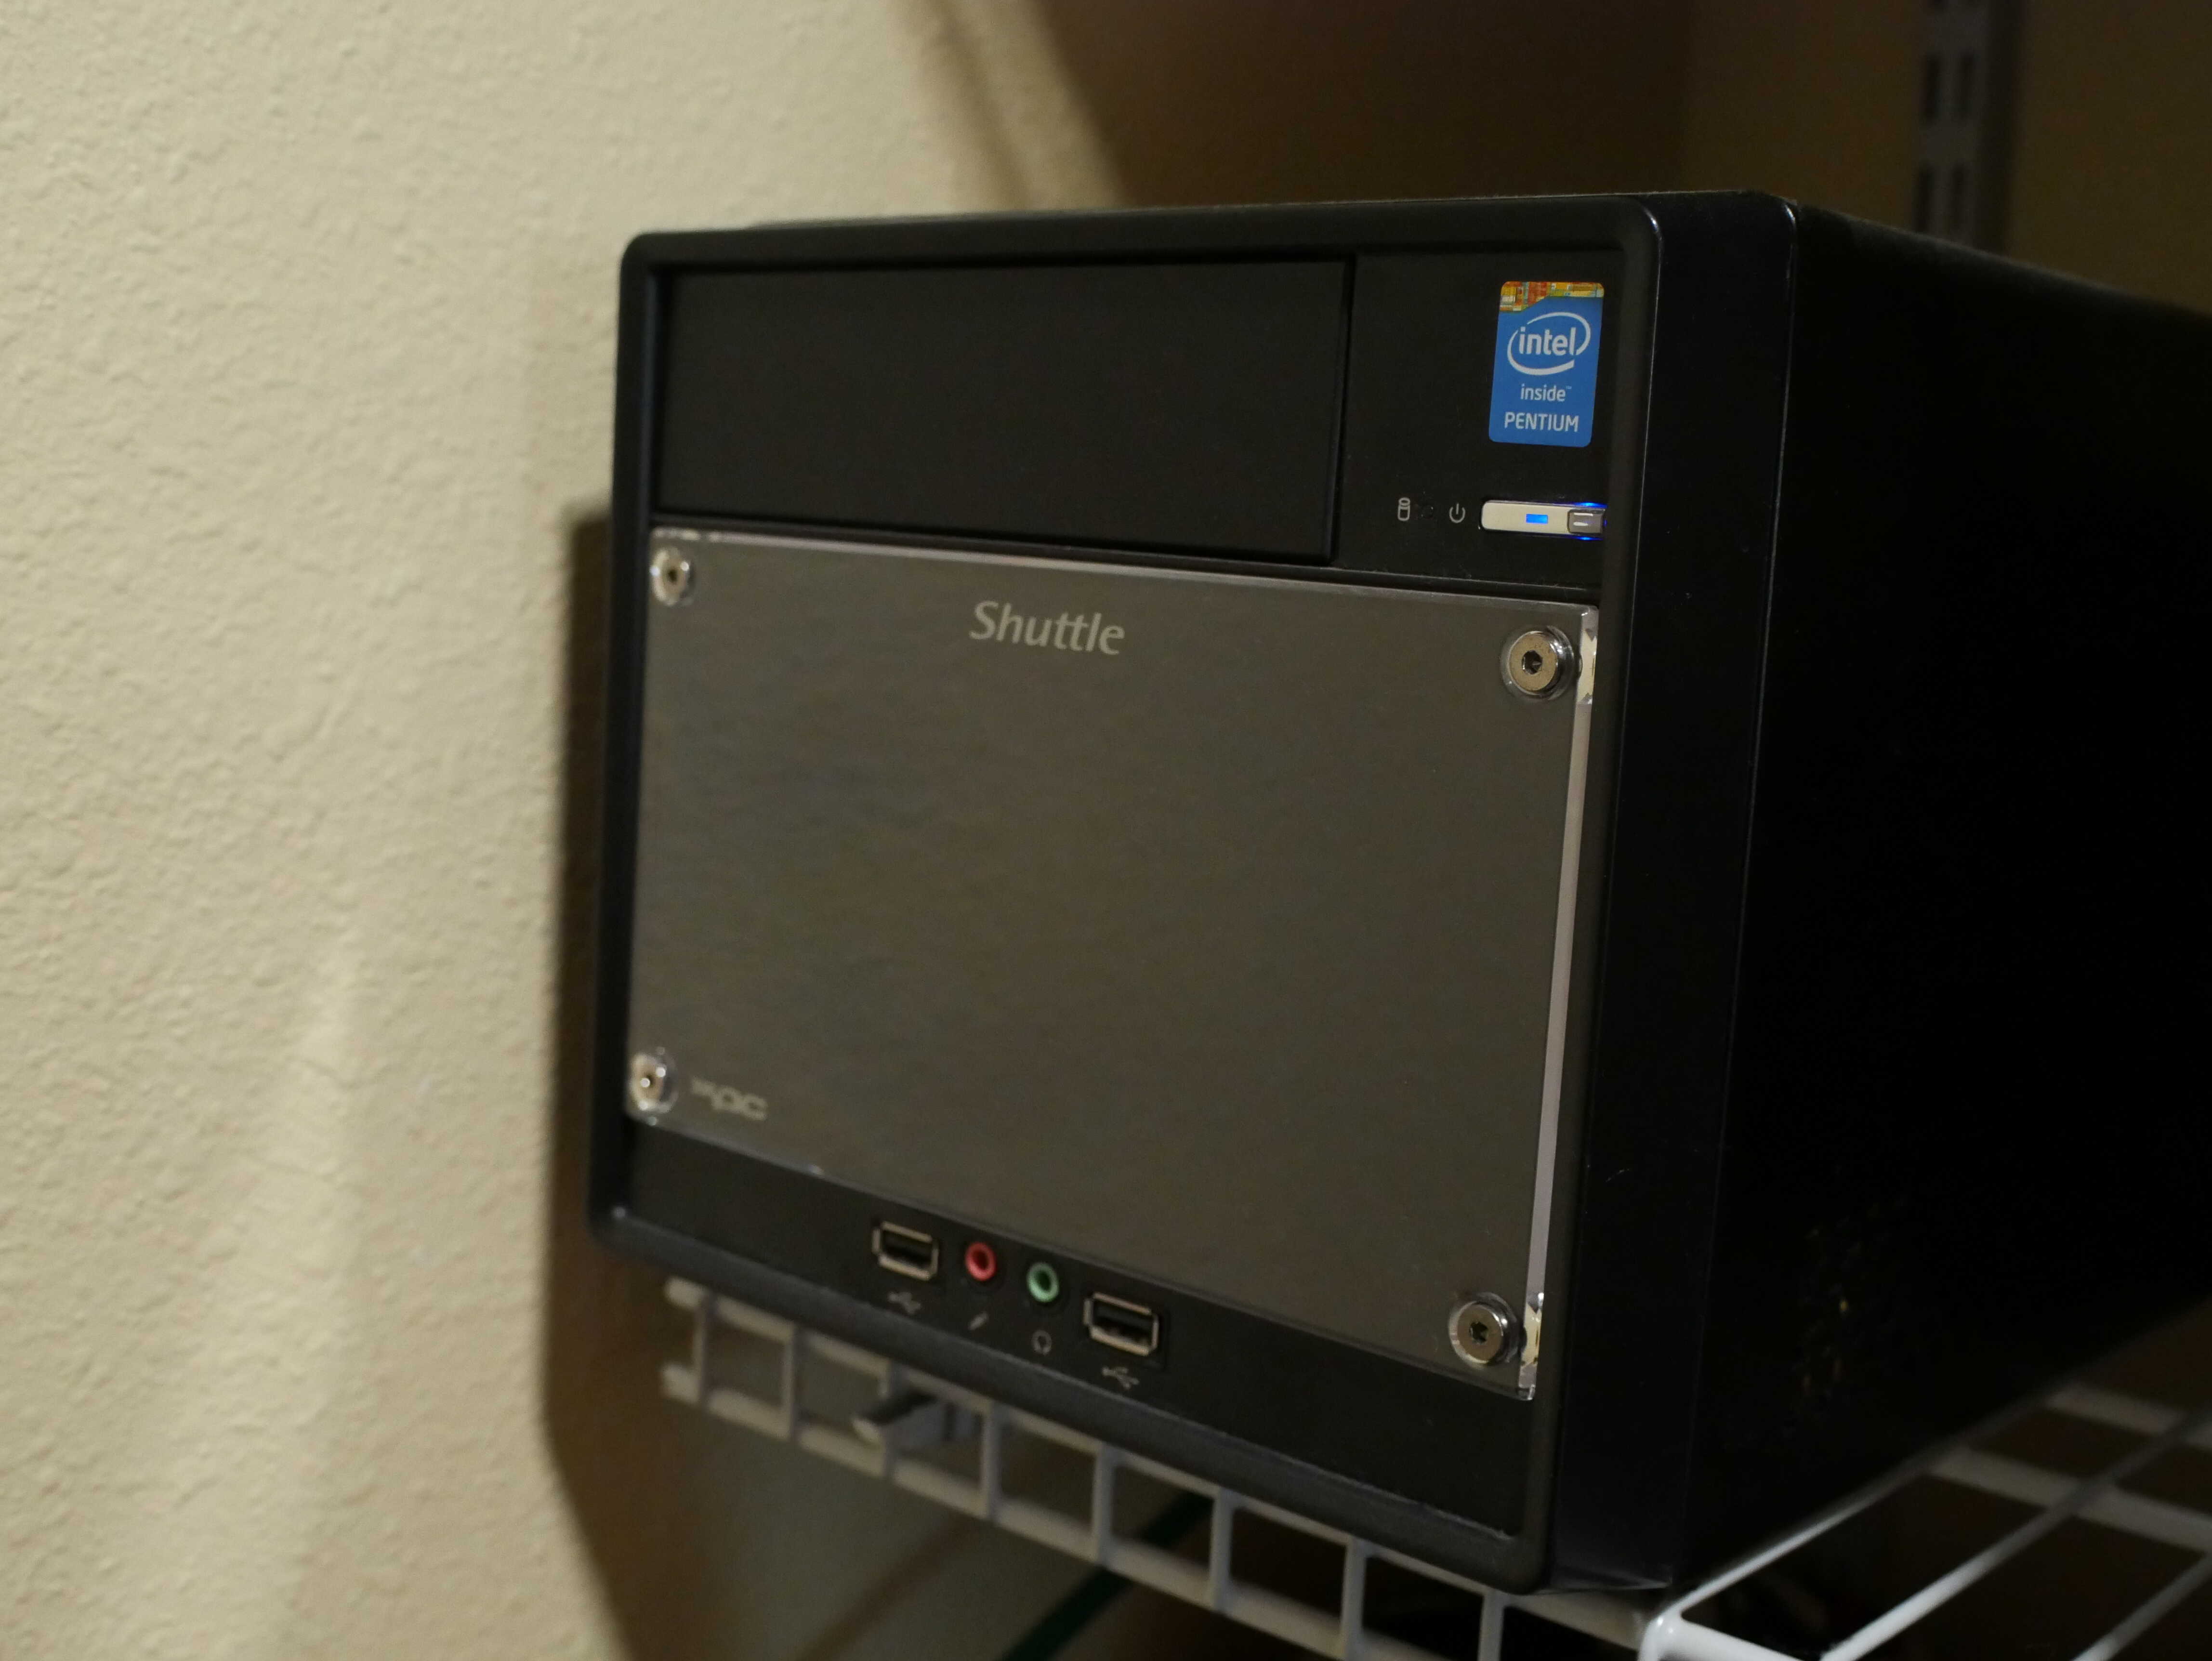
The exterior of the new NAS, happily gobbling up power inside a closet. Yes, I have Ethernet in there.
I also removed as much dust as I could from inside it. After that, I reassembled the PC, and discovered I’d picked up a few metal splinters in my finger from it. Turns out Shuttle really cheaped out on the metal in these. Ouch. I did remove them before proceeding.
Windows 10 ran fairly well. I was pleasantly surprised by it. Despite only having two cores and two threads, it wasn’t really struggling that much. And, of course, I had to benchmark the thing before chucking it in the closet. It performed fairly well, better than I thought. I haven’t gotten around to benchmarking the old NAS, but I’ll be certain to do so at some point, possibly once I get the benchmark stuff up on the internet. For now, enjoy the HandBrake Benchmark Spreadsheet.
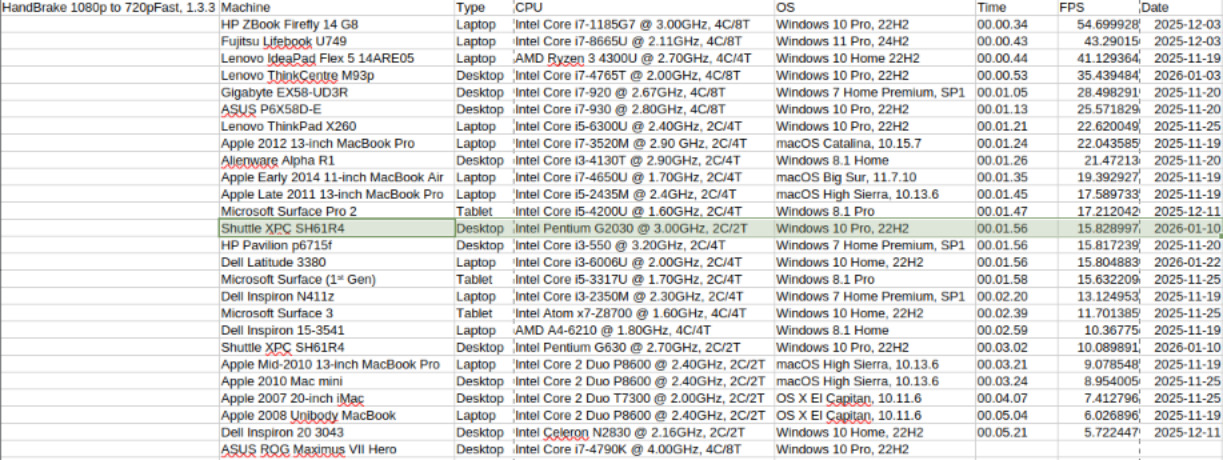
Results for the HandBrake 1080p h264 benchmark.

Results for the HandBrake 4k benchmark. This one is done differently, following the criteria listed in this forum post HERE.
Building the NAS:
This was, by far, the most frustrating build ever. I had my two 14TB hard drives, my LSI 9207-8i I’d bought for it (6GB/s as opposed to the onboard 3GB/s), and 8GB of RAM for it to gobble up, the maximum advertised by Shuttle. I installed all of them with relative ease.
At first, the hard drives didn’t spin up at all. After a couple hours of troubleshooting, I remembered that some enterprise drives won’t start because of the 3.3V thing on SATA plugs. A 4-pin Molex to SATA ought to do the trick, right? Nope. Connecting the drives to the onboard SATA caused them to spin up. Weird.
I then spent some time trying to debug the card, since it seemed to be at fault. It was already the next day, and so I spent it trying to flash the card. When it was sold to me, it was advertised as “IT-mode TrueNAS ready”, and I figured the seller had just forgotten to flash it. Nope. It was DEAD. I tried several PCs, and no luck. Sas2flash didn’t want to pick it up at times either. I ended up contacting the seller, who asked me to flash it again (no luck), and then asked me to confirm it was dead after I told him it was absolutely dead, over the span of three or so days. One week later, the replacement arrived, I chucked it in, and…
...it worked! The drives spun up, and TrueNAS detected them! Yay!
I also added a fan I’d taken out of a switch (see HERE) to cool the LSI HBA chip. Since this PC has fan speed control, it’s a lot quieter than it was in the switch. I can also easily block out the noise of the fan, if it ever gets loud, by simply closing the door of my closet.
Setting Up TrueNAS:
And now for the fun part. I had nearly four whole terabytes of stuff to transfer. So I tried to transfer it using a computer connected to the new NAS and the old via my network, acting as a kind-of “passthrough” for the data. This wasn’t working. It was taking far too long. I gave up on that. Then I took the drive out of the old NAS and connected it directly over USB to the PC to then transfer over Samba to the new NAS. Still too long. I then finally figured out a better, more reliable way to do it.
I connected the old drive inside of the new NAS. TrueNAS doesn’t support this, but you can do it. They should make this easier. From there, I used the SSH shell (which had to be configured to be less secure, whatever) to SSH in, make a directory for the drive, and mount the drive to said directory. From there, I had to change some permissions on the old drive, since rysnc didn’t like it (I was running it without the -no-perms at first), and used tmux to ensure disconnecting from SSH wouldn’t crash my delicate operation.
Here’s what I did, in a more “tutorial” format:
Set my user (jm) for SSH in TrueNAS’s UI.
SSH in to it.
Create new directory for the drive: mkdir /mnt/olddrive. Then mount it: mount /dev/sda1 /mnt/olddrive.
Then I changed the permissions for the entire JMFiles folder. I think the rsync command I ran would not have cared, but this is what I did: chown jm:jm -r olddrive (I ran this outside of the olddrive directory.
From there, I went into olddrive, and copied the files to the new JMFiles folder: rsync -a –no-perms –info=progress2 JMFiles /mnt/Expeditus/
That allowed me to copy the files straight into the JMFiles directory on the new share without making a subdirectory in JMFiles. I did this for the other three shares I had and after a few lovely hours, everything had made its way over. And I only had about 10TB left.
I then had to set up Immich. TrueNAS itself was fairly easy to set up, but Immich wasn’t that easy. I had made a backup of it on my old NAS, and was planning to restore that. I installed Immich, pointing it to my lovely Immich directory I’d copied over, and then tried to restore the backup. It didn’t work, citing some Postgres user error of some sort. Trying to downgrade or upgrade the Postgres version, even clean installs didn’t work. I gave up and set up a brand-new Immich install. Now it’s going to have to re-index EVERYTHING. Oh well. I have thought about fresh installs in the past, and now’s as good a time as any to do so.
Then I had to transfer over Snipe-IT. This was a PAIN. Backing it up on the old NAS was easy as ever. But getting it working on the new one wasn’t obvious to me right away. I tried to install it via YAML in the TrueNAS app install thing, but that didn’t work right. Neither did doing it through the command line via SSH. I nearly gave up, but then tried containers.
TrueNAS has these “container” things. They’re essentially a VM of sorts that can run on the NAS. I made one. It took several containers to figure out what I was doing wrong. Making a Docker container in the container threw some errors, and trying to install Snipe-IT via their command-line way isn’t super obvious to me. I ended up doing a bit more research, and found someone who’d had the same error I did. Downgrading containerd.io fixed it for me. See link HERE and skip to step 2 (and only do step 2) and see if that helps. From there, I got Docker working, and got Snipe-IT installed. It still didn’t work, throwing an “error 500”. I ended up getting annoyed with it, and remembered I could simply copy over my docker compose and .env from the old NAS. Doing that fixed the issue. I have no idea how that fixed it, but it did.
After all of that, I had a NAS set up. It works quite nicely. Text documents save a lot faster to it. Overall, I’m pretty happy with it. The hard drives are noisy, and, at times, can be heard outside the closet, especially when being accessed for a while. Immich had to do its machine learning thing, and for about four and a half days you could walk by the closet and hear the drives moving. Fan noise can be an issue, though since that Pentium rarely went over 50C in my testing, the fans hardly ramp up.
I also ended up sticking 16GB of RAM in it. The Intel H61 chipset has a maximum supported limit of 16, and although this unit only has two slots, it took the RAM with no issue. I suppose this is because the other two slots are not present on this board, and as a result it accepts it and uses it with no issues. And since this isn’t DDR4 RAM, let alone DDR5, it’s not that expensive to get a 16GB kit used.
Home Assistant
At one point, a couple days after I finished setting up the NAS, I had gotten some of these Sonoff S41S smart plugs to automate turning the heater on and off in the chicken coops. These switches use Matter to connect to Home Assistant. I had Home Assistant running on an old Chromebox, but was having issues with it. Matter’s integration would not install due to the fact that I was lacking in free storage on the device, thanks to its 16GB SSD. I decided that now was the perfect time to move Home Assistant back to my NAS, therefore having all of my network things on one box.
TrueNAS has virtual machines, and it was with one of these that I wanted to install Home Assistant OS. Thing is, the tutorials (link to one I followed HERE) said you need a bridge on the NAS to get the VM to work right. I tried lots of things to get that bridge to be set up properly. Eventually, I found this tutorial (LINK) on YouTube, which, with following the tutorial and a bit of “I-Don’t-Know-What-I-Did”, I managed to get the thing working. I used VNC to get into it, since that way I could ensure it started up. Since it was working, I used a backup of my Home Assistant setup to setup the instance there, shut the old one down, and I had my new instance on my NAS fully functioning, no additional configuration needed. This works great for me.
From there, I installed Matter on the Home Assistant instance and configured my smart switch. I installed one smart switch, and, that night, it got its first test. I had set it to turn on if it’s below 45F, and off if it’s above 45F. It performed as expected. Chickens don’t get cold as fast as humans, so a lower temperature should be fine. Overall I’m pretty happy with it. I do wish these switches could do power monitoring, but I suppose I need a fancier one for that. For what I’m doing with it, using it as a easier way to ensue human error isn’t as big of a problem, it works very well, and hopefully will for years to come.
Non-NAS Stuff
I’ve got some more projects that might get their own posts at some point, including a Sony laptop from a lot of laptops, a motherboard, and maybe even a Mac.
The Chickens are happy, as far as I can tell. The weather has been warmer, and it seems they’re starting to warm up to the idea of laying eggs.
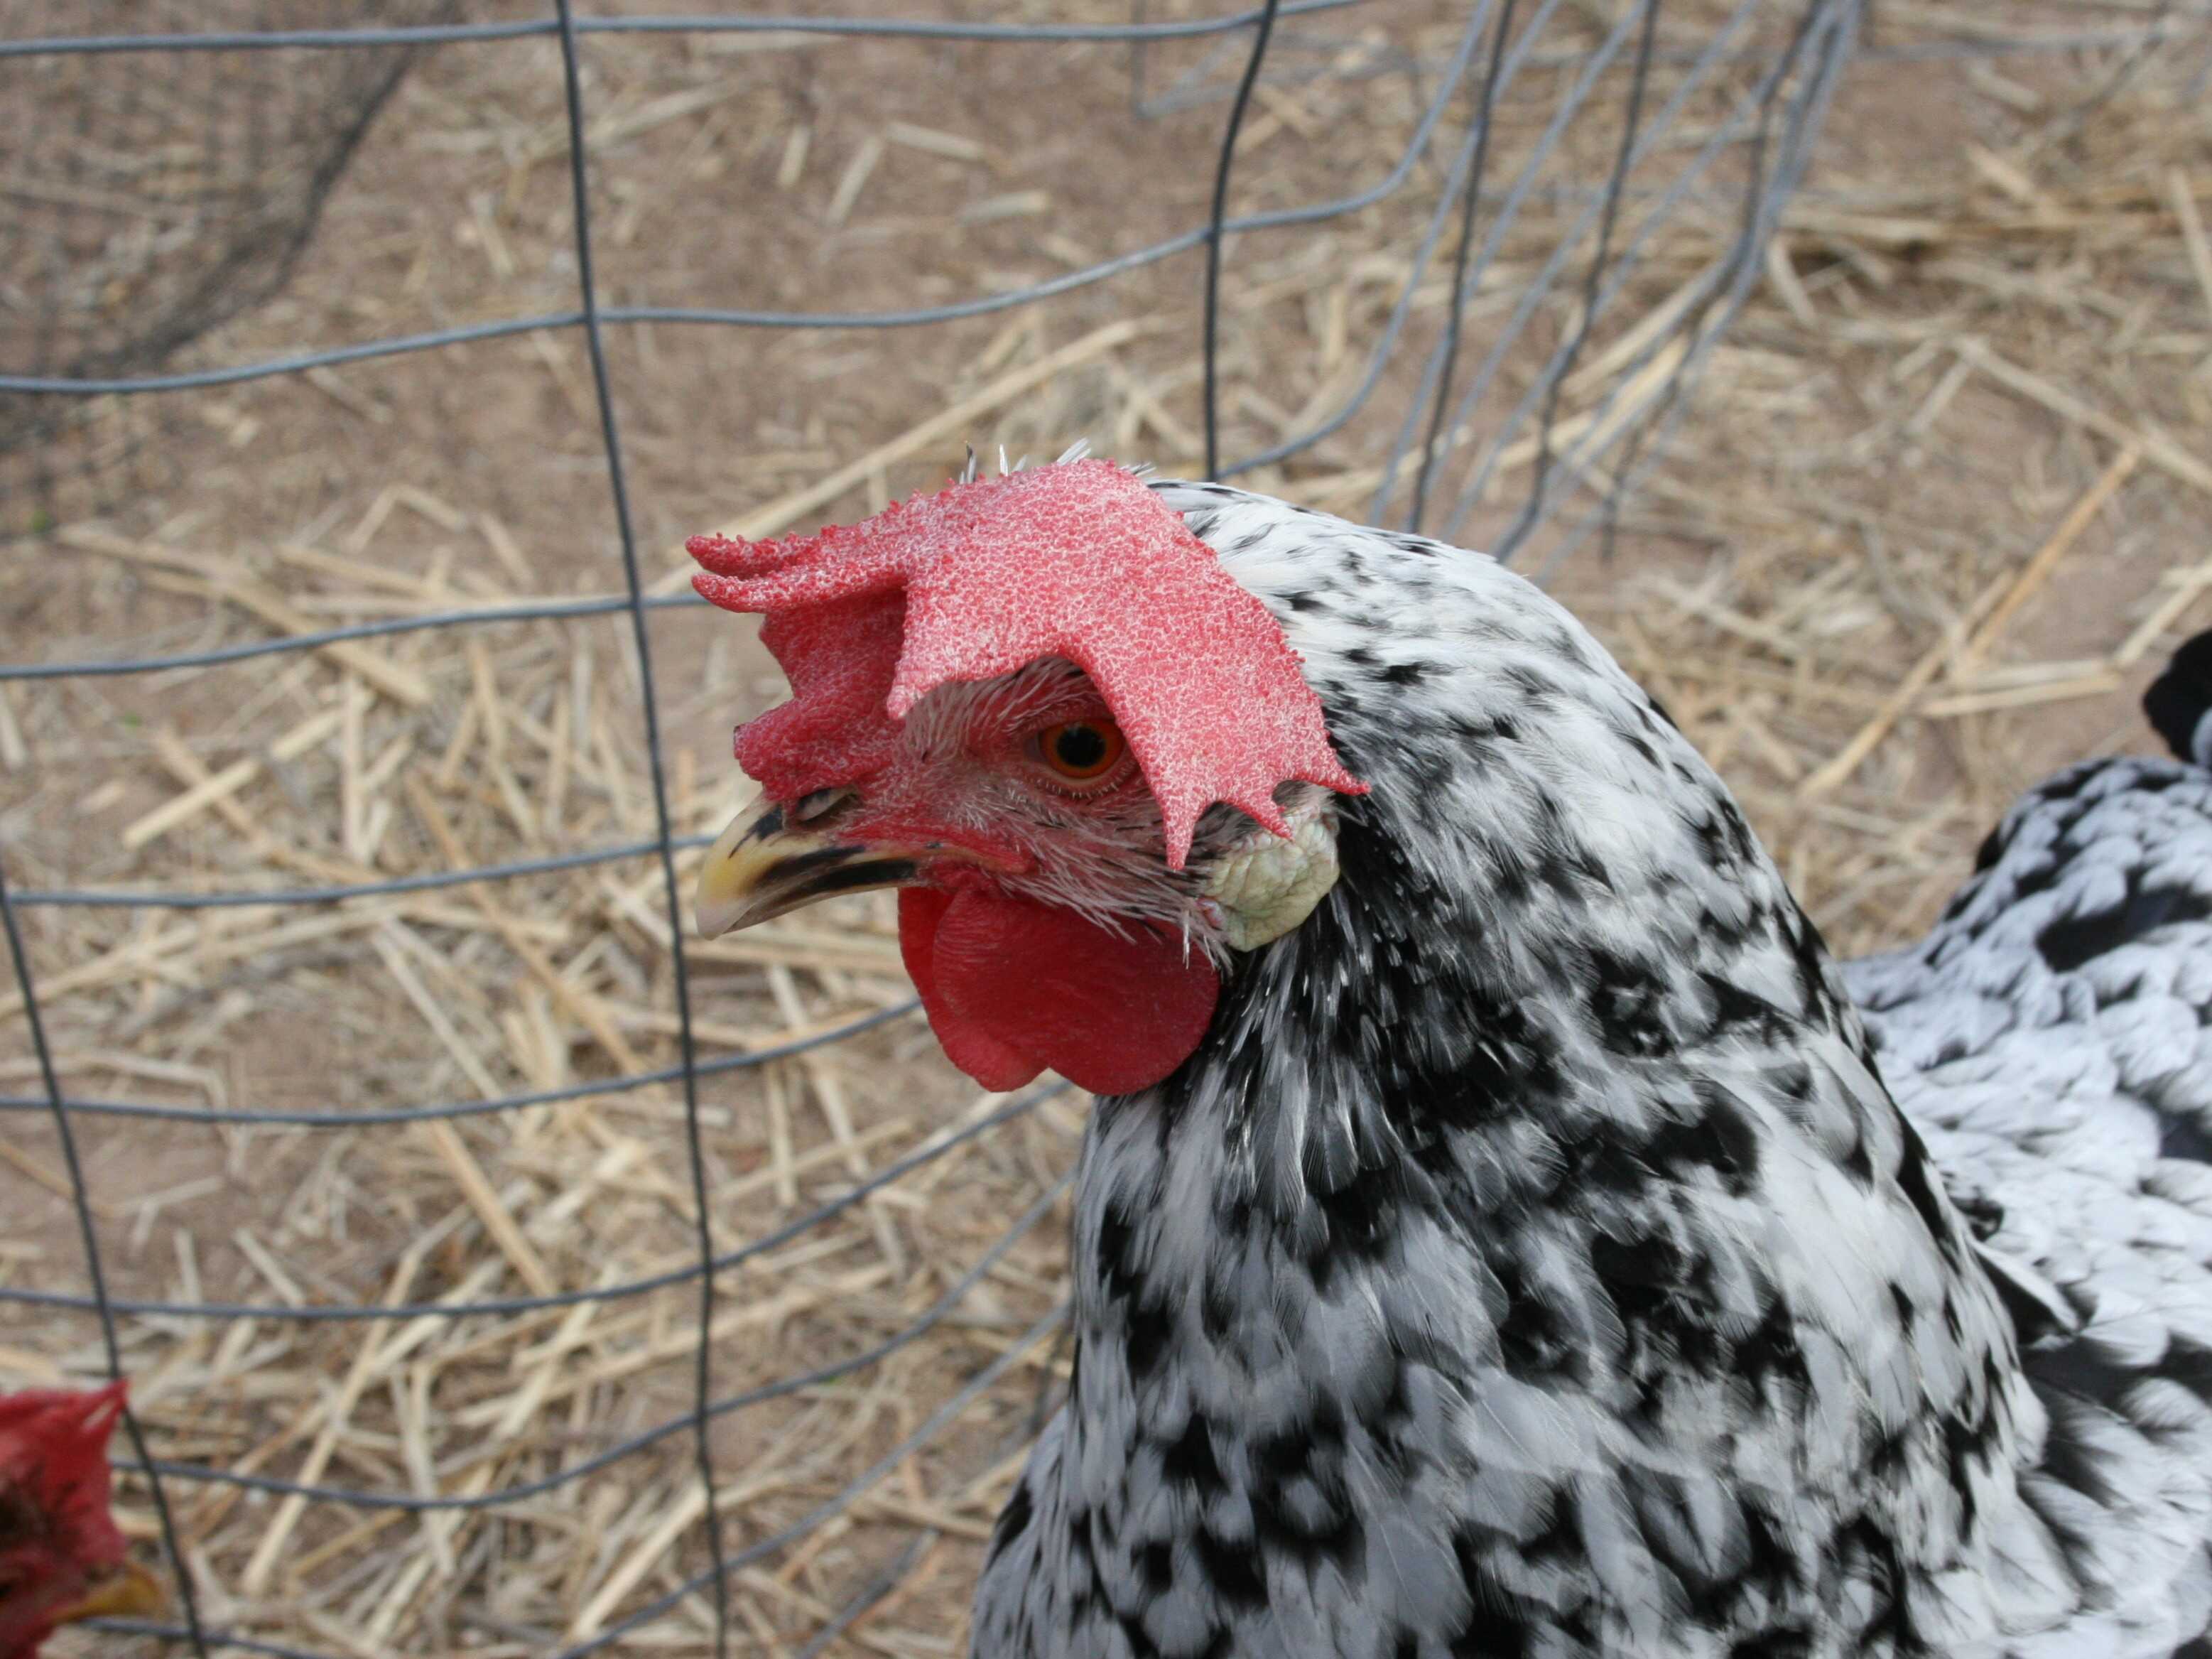
Empress Josephine.